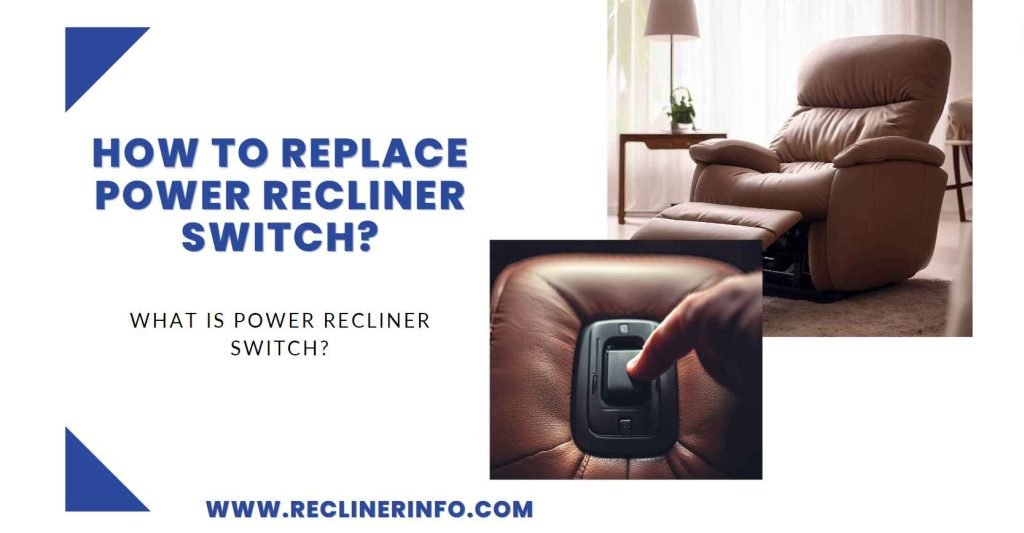
If you are also facing an issue with your power recliner switch and want to know how to replace power recliner switch, then you end up in the right place. In the article below, we defined a detailed guide that explains the whole process step by step.
After using a recliner for a while, you may face different problems, in which the recliner switch is the most common one. It stops working after use for a while, and it’s not expensive, and it’s also easy to replace even you can do it if you are good with electric stuff.
Replacing a power recliner switch is a relatively easy task, and anyone with a little electrical knowledge can do it. The process requires you to have some basic tools and accessories.
After talking to a tech expert, we came up with a complete list and detailed guide for fixing the recliner chair’s Electric Switch. So let’s get to it without wasting any time.
Contents
What is Power Recliner Switch:
A power recliner switch is one of the main components of a recliner chair that is used to control different movements of a recliner. By different movements, I mean footrest positioning, reclining angles, and other various movements. The recliner switch is usually located on the side of the recliner, but in some models, it’s underneath the seat.
It has four main types, which include.
- Toggle Switch: This recliner switch only features a simple toggle on and off mechanism.
- Rocker Switch: This Switch is designed for a rocking mechanism. It mostly controls the rocker movement but is also responsible for reclining in an upright position.
- Push Button Switch: The push Button mechanism has different buttons for different movements and functions in your recliner. Each button is designed for different movements and mechanisms.
- Touch Sensor Switch: This recliner Switch is usually found in the latest models of recliners. It can do your desired movement with just a swipe or a touch.
How to Replace Power Recliner Switch:
The process of electric recliner replacement switch is very easy, and we also describe it in proper detail that won’t disappoint you. The whole process is practically done before, so don’t worry; follow it.

Preparation:
The first step is to prepare your recliner for the whole process. By preparing, I mean unplugging it from the power source and entering an open space.
Getting the Tools:
Now get the required tools that you will be using during the process. Usually, the tools you need include a screwdriver, wire stripper, and switch.
Locating the Switch:
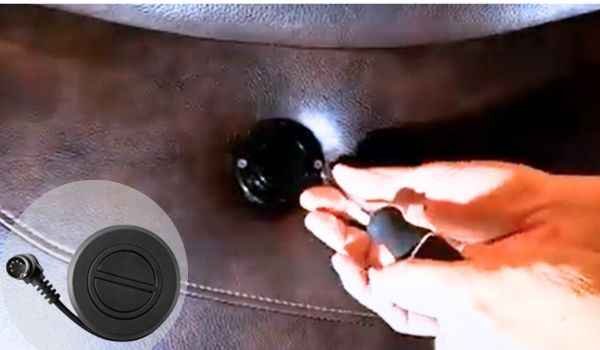
Now the next step is to get to the Switch, and you can do it by removing the cover or any panels from the Switch. Usually, the Switch is located on the side of the recliner, but in some cases, it is underneath the seat.
Disconnecting Wires:
After accessing it now, it’s time to disconnect the wires of the old recliner switch. Remember the connection of the wires. Usually, the wire is in different colors, and you would remember which wire is connected to which, but take a reference picture before so you would remember the connection later.
Remove old Switch:
Now it’s time to remove the old Switch, and you can do that by unscrewing or unclipping it from its position. While removing the old Switch, make sure not to damage its surroundings.
Installing New Switch:
After removing the old Switch, it’s time to install the new Switch. Now take the new Switch and position it to the same mounting position. Properly place it in the old position but ensure not to damage the Switch and the mounting.
After placing it now, secure it with screws and make sure it’s secure in place.

Reconnecting the Wires:
After placing the recliner switch, it’s time to connect its wires. For wire, use that picture for reference and connect it accordingly. Users can also connect it according to the colors. Use a stripper if you need a proper connection, and you can also use tape to cover the connections.
Testing:
Now it’s time for the test. After placing the new Switch and securing the wires, now is time for testing. Connect it to a power outlet and check it. If it’s working properly, then it’s good; otherwise, check the wires and switch one more time and then check it again.
Putting Cover Back:
After proper checking, it’s time to put the cover on the recliner switch as the final part. So, this was your whole process of replacing the power recliner switch.
Feel free to call a professional if you find it uncomfortable or unsure you can do it alone. Calling a professional technician is the safest way to go, so call them immediately.
Check a Video Guide FOR More Information.
Conclusion:
There are many reasons why your electric recliner switch is not working, but fixing is only one. The recliner switch is one of the main components of a recliner, and it is responsible for most of its movement. Fixing it is easy; you can do it yourself if you follow the process. But take proper precautions before starting the process.
After knowing the complete process of “how to replace a power recliner switch,” you may be able to change your recliner switch. For more guides like this, please visit our main website.


